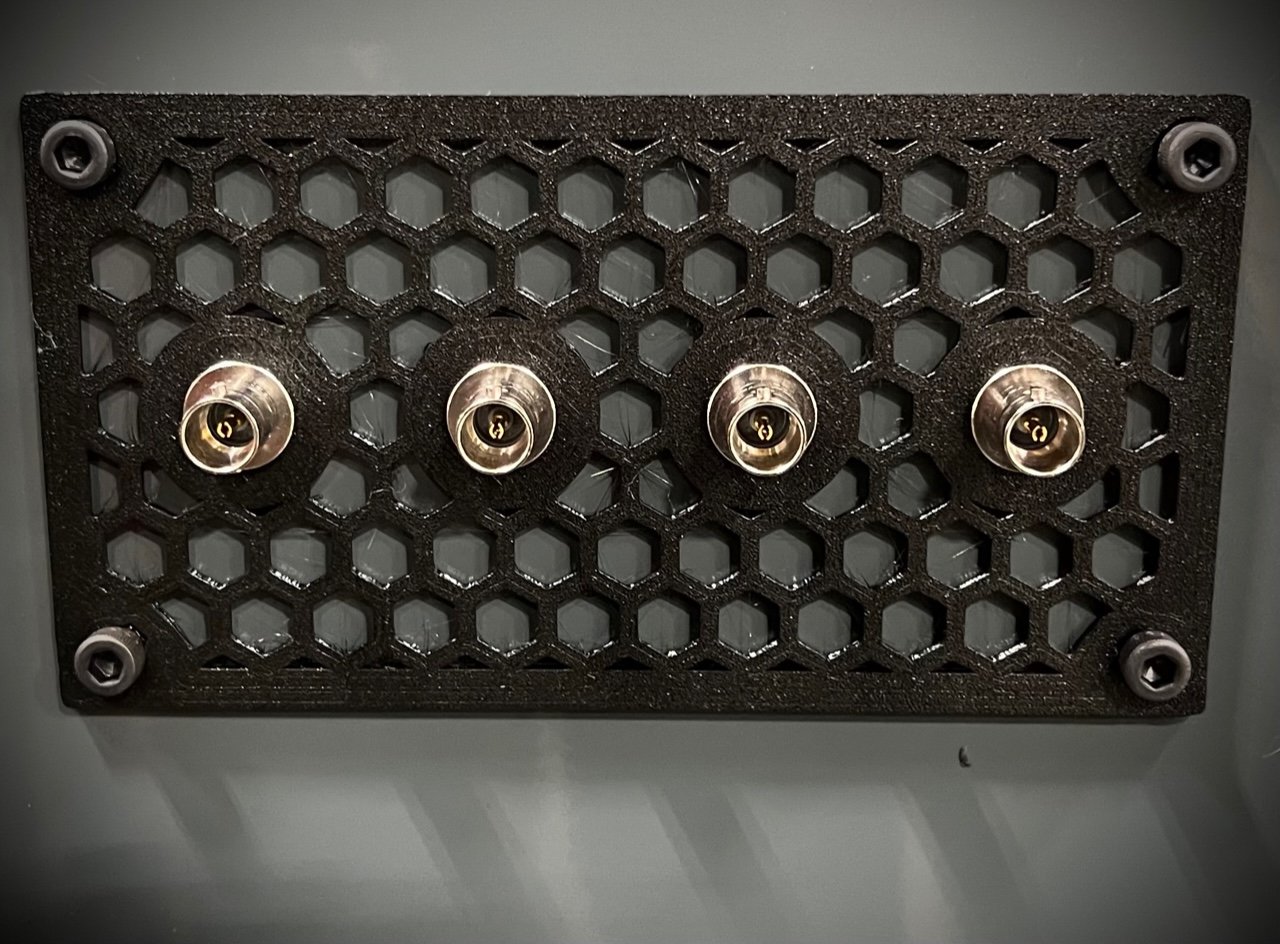
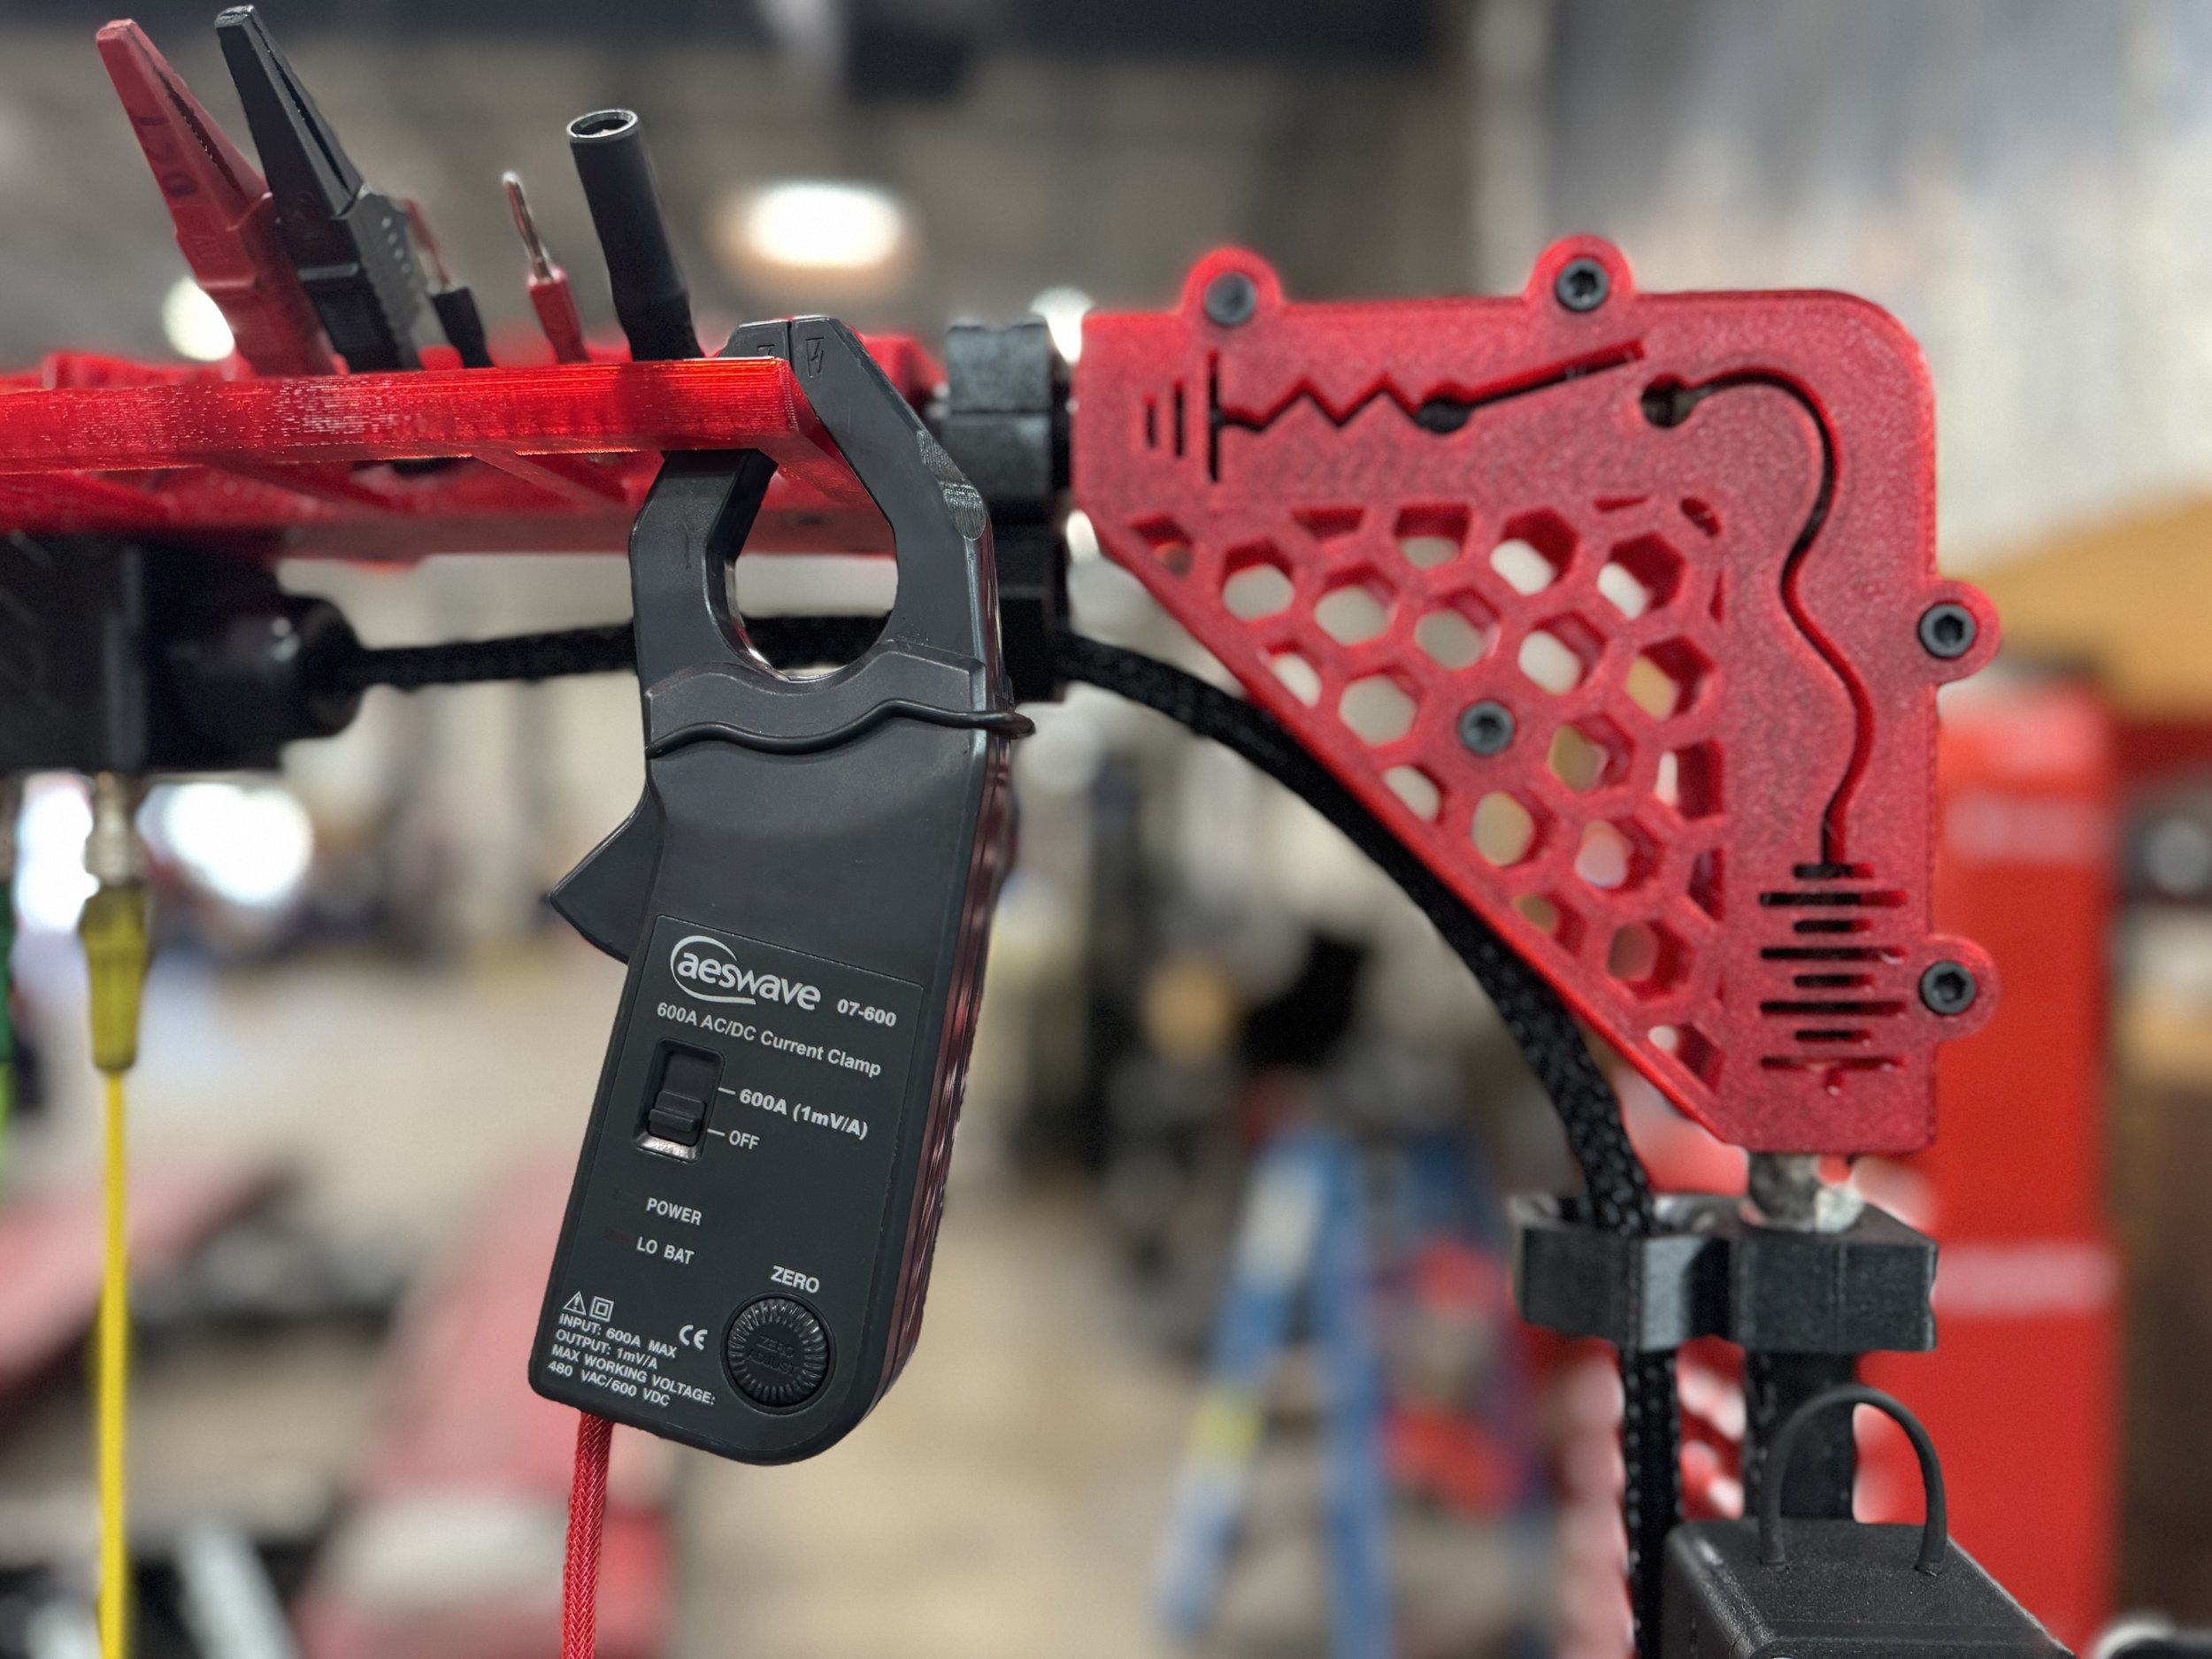
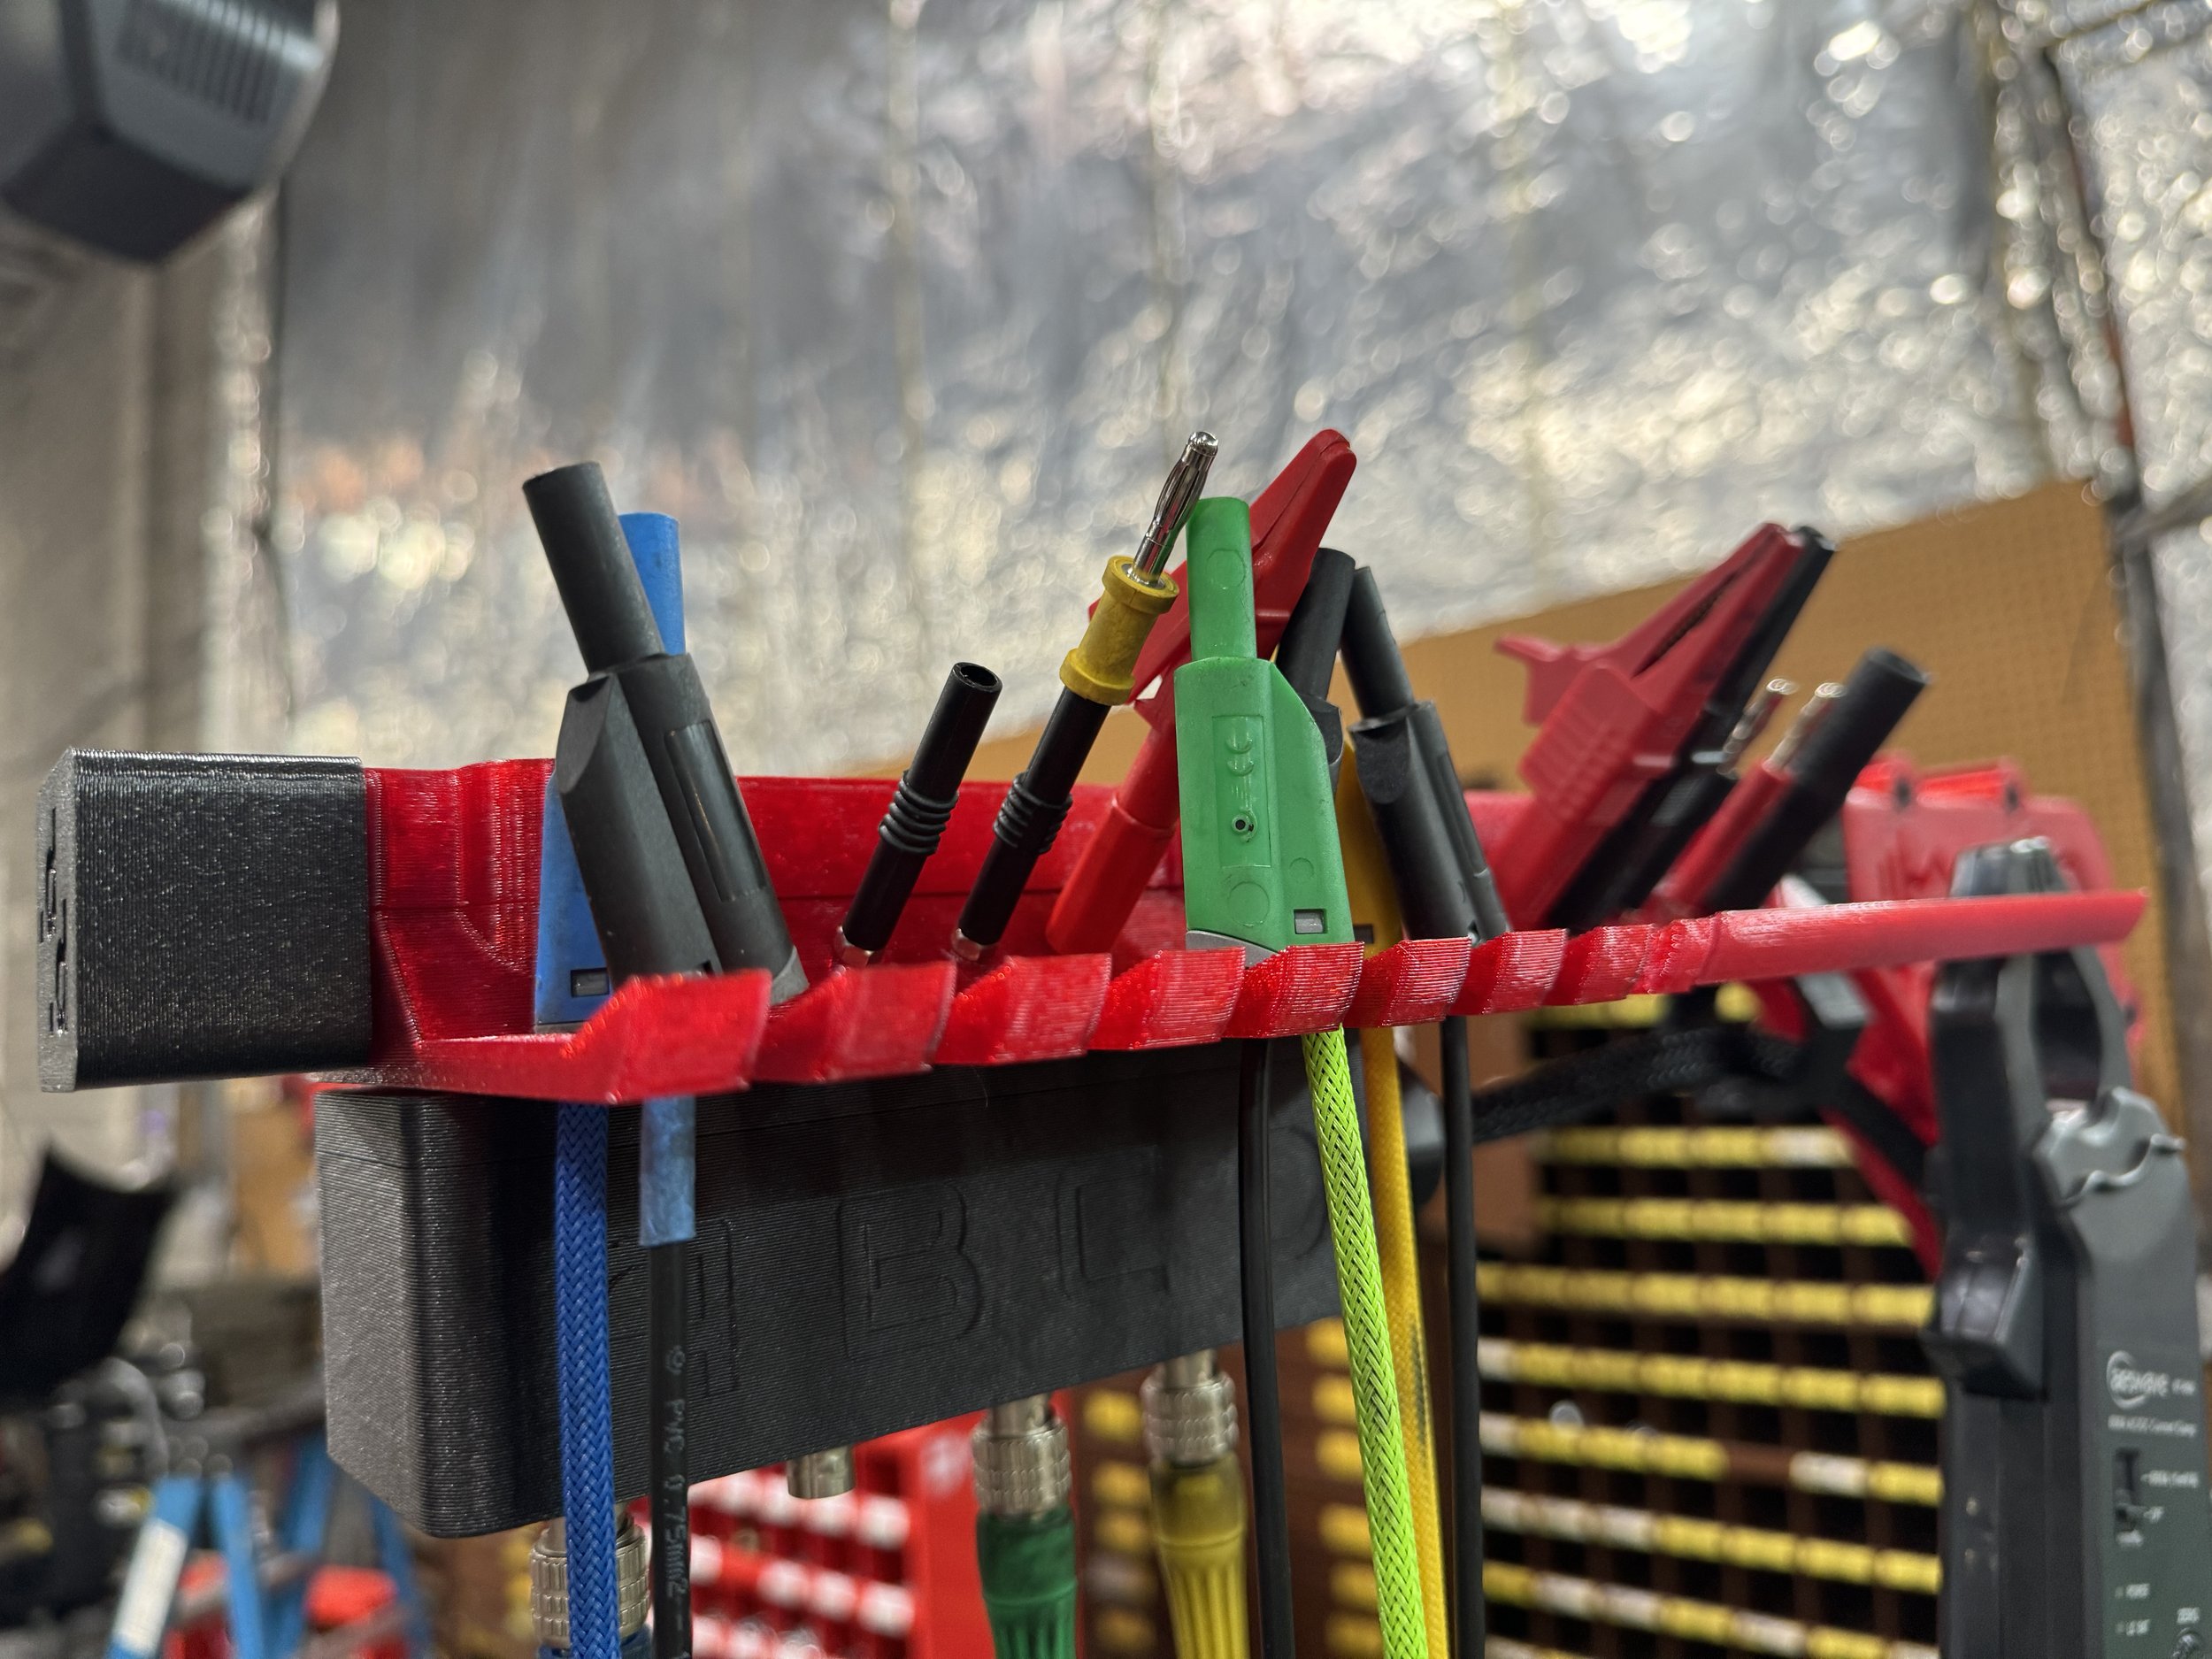
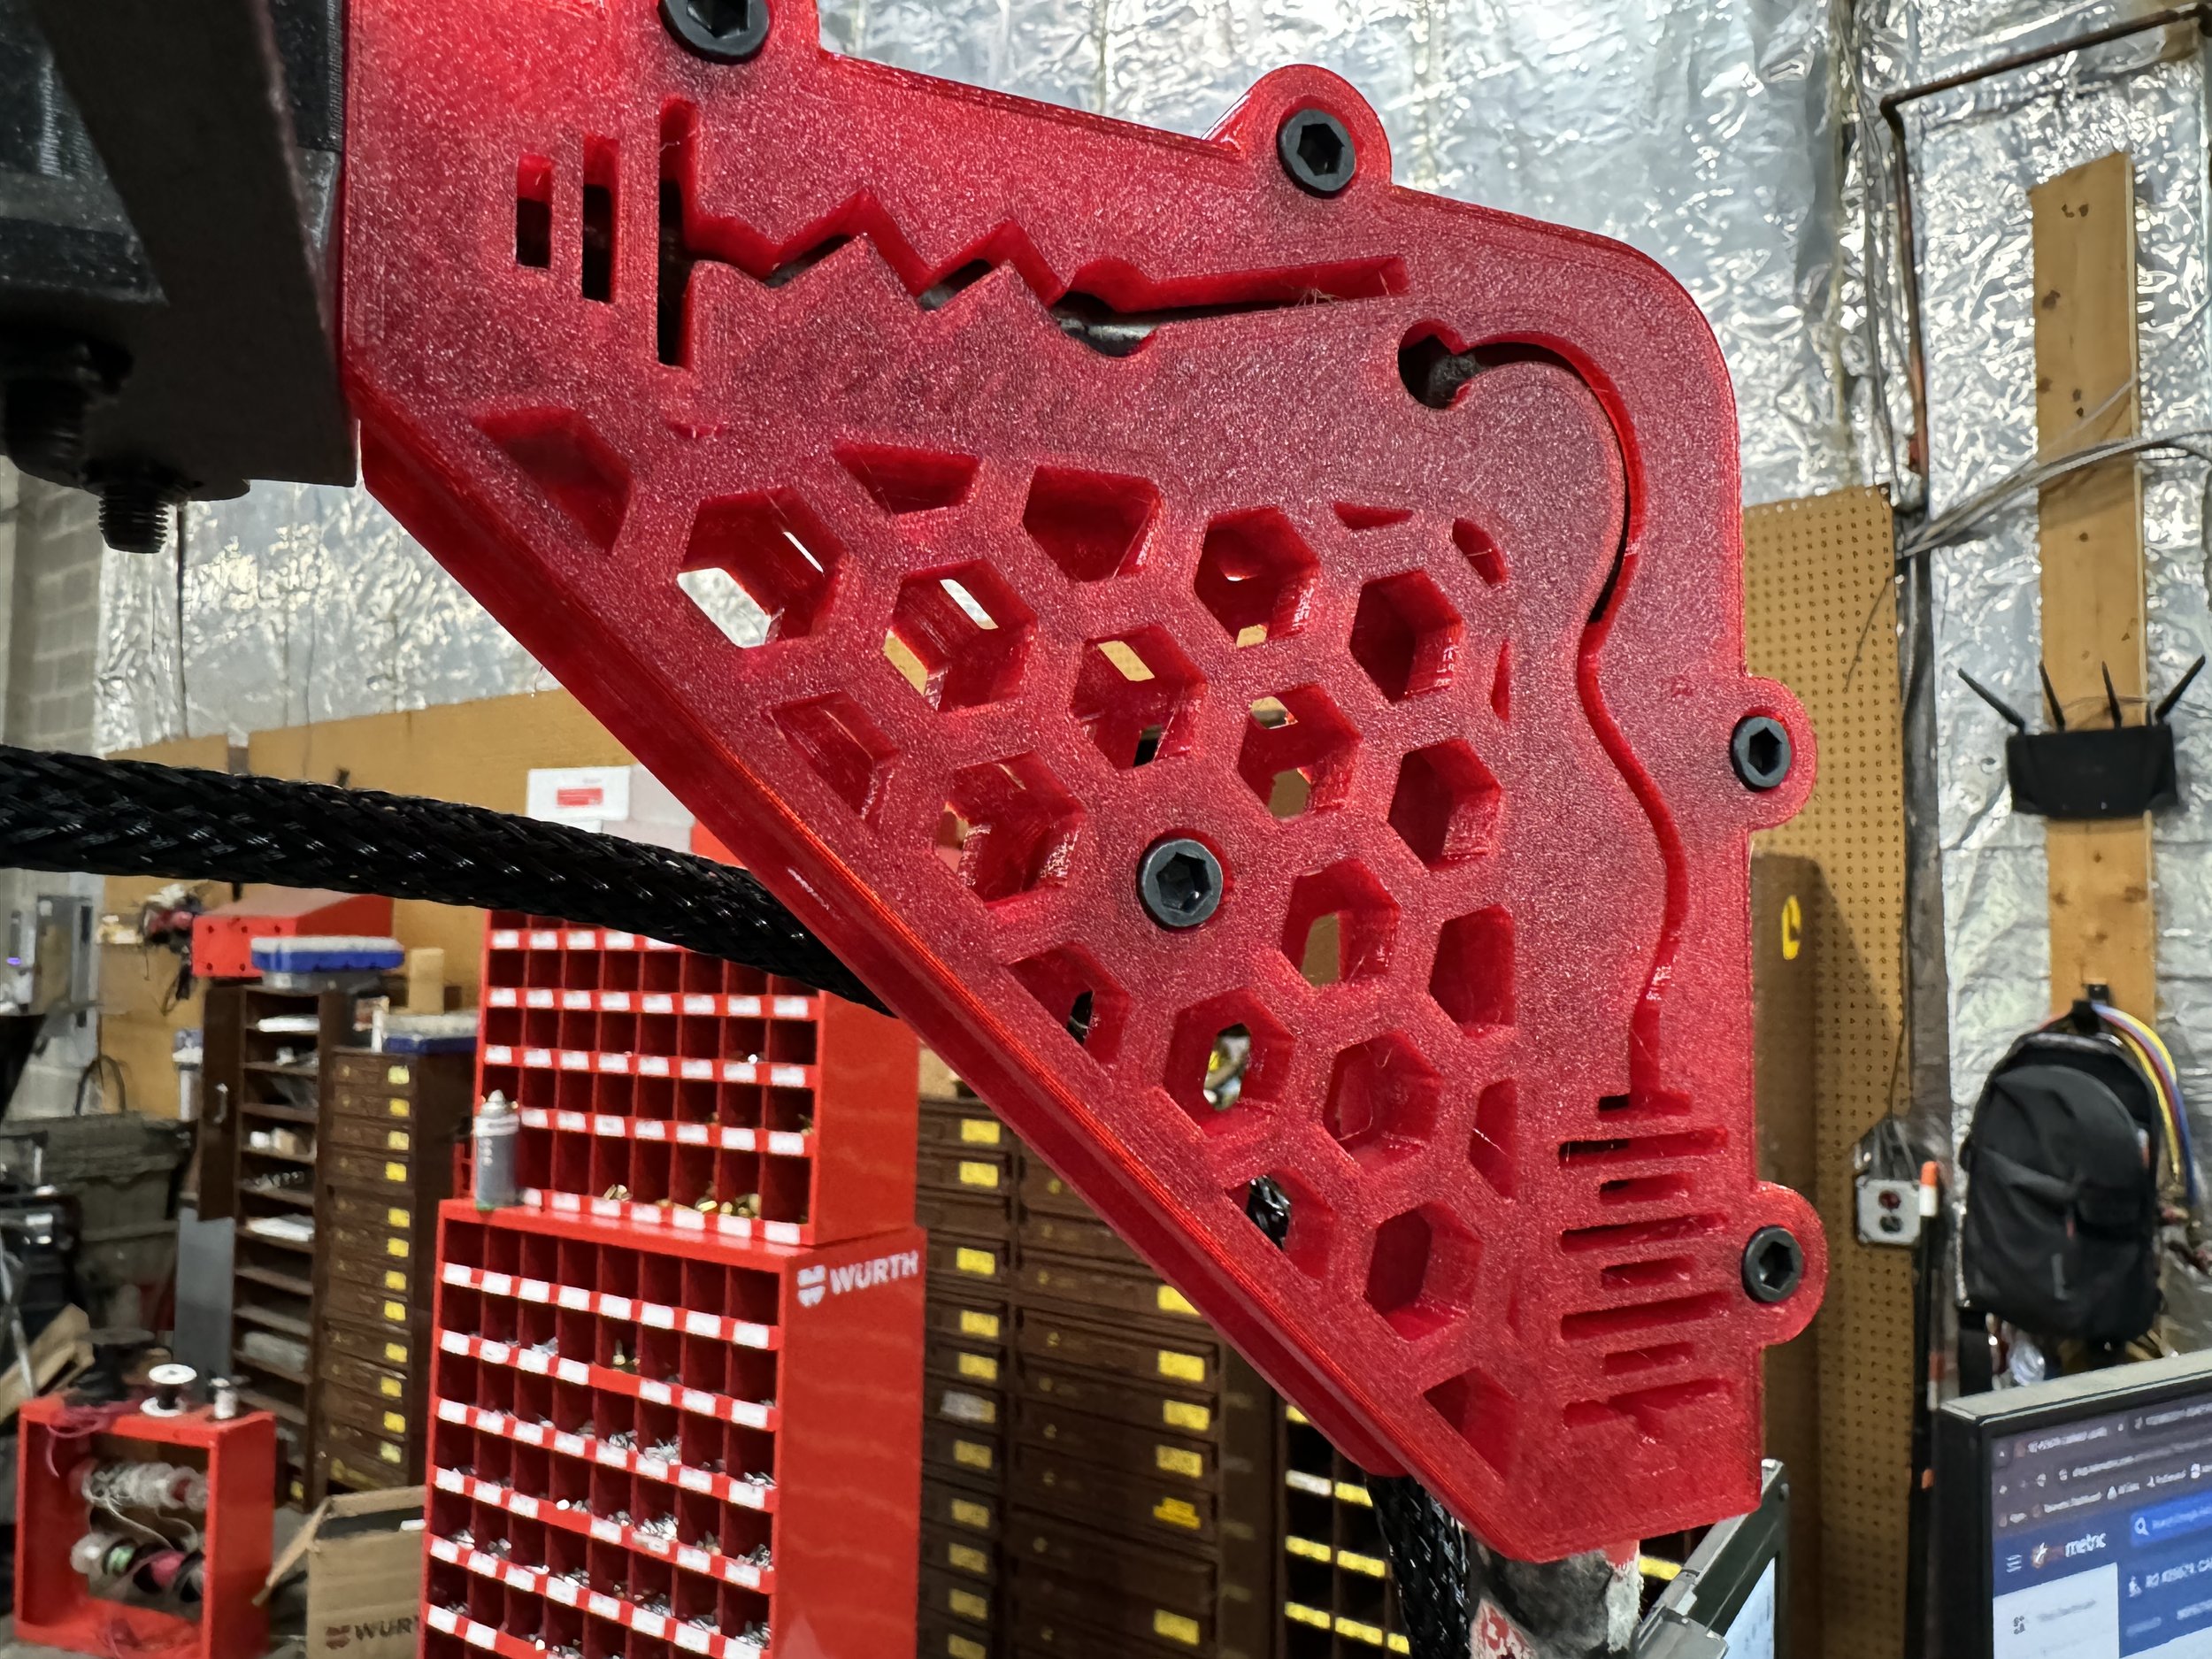
4 Channel BNC Bulk Head Pass Through
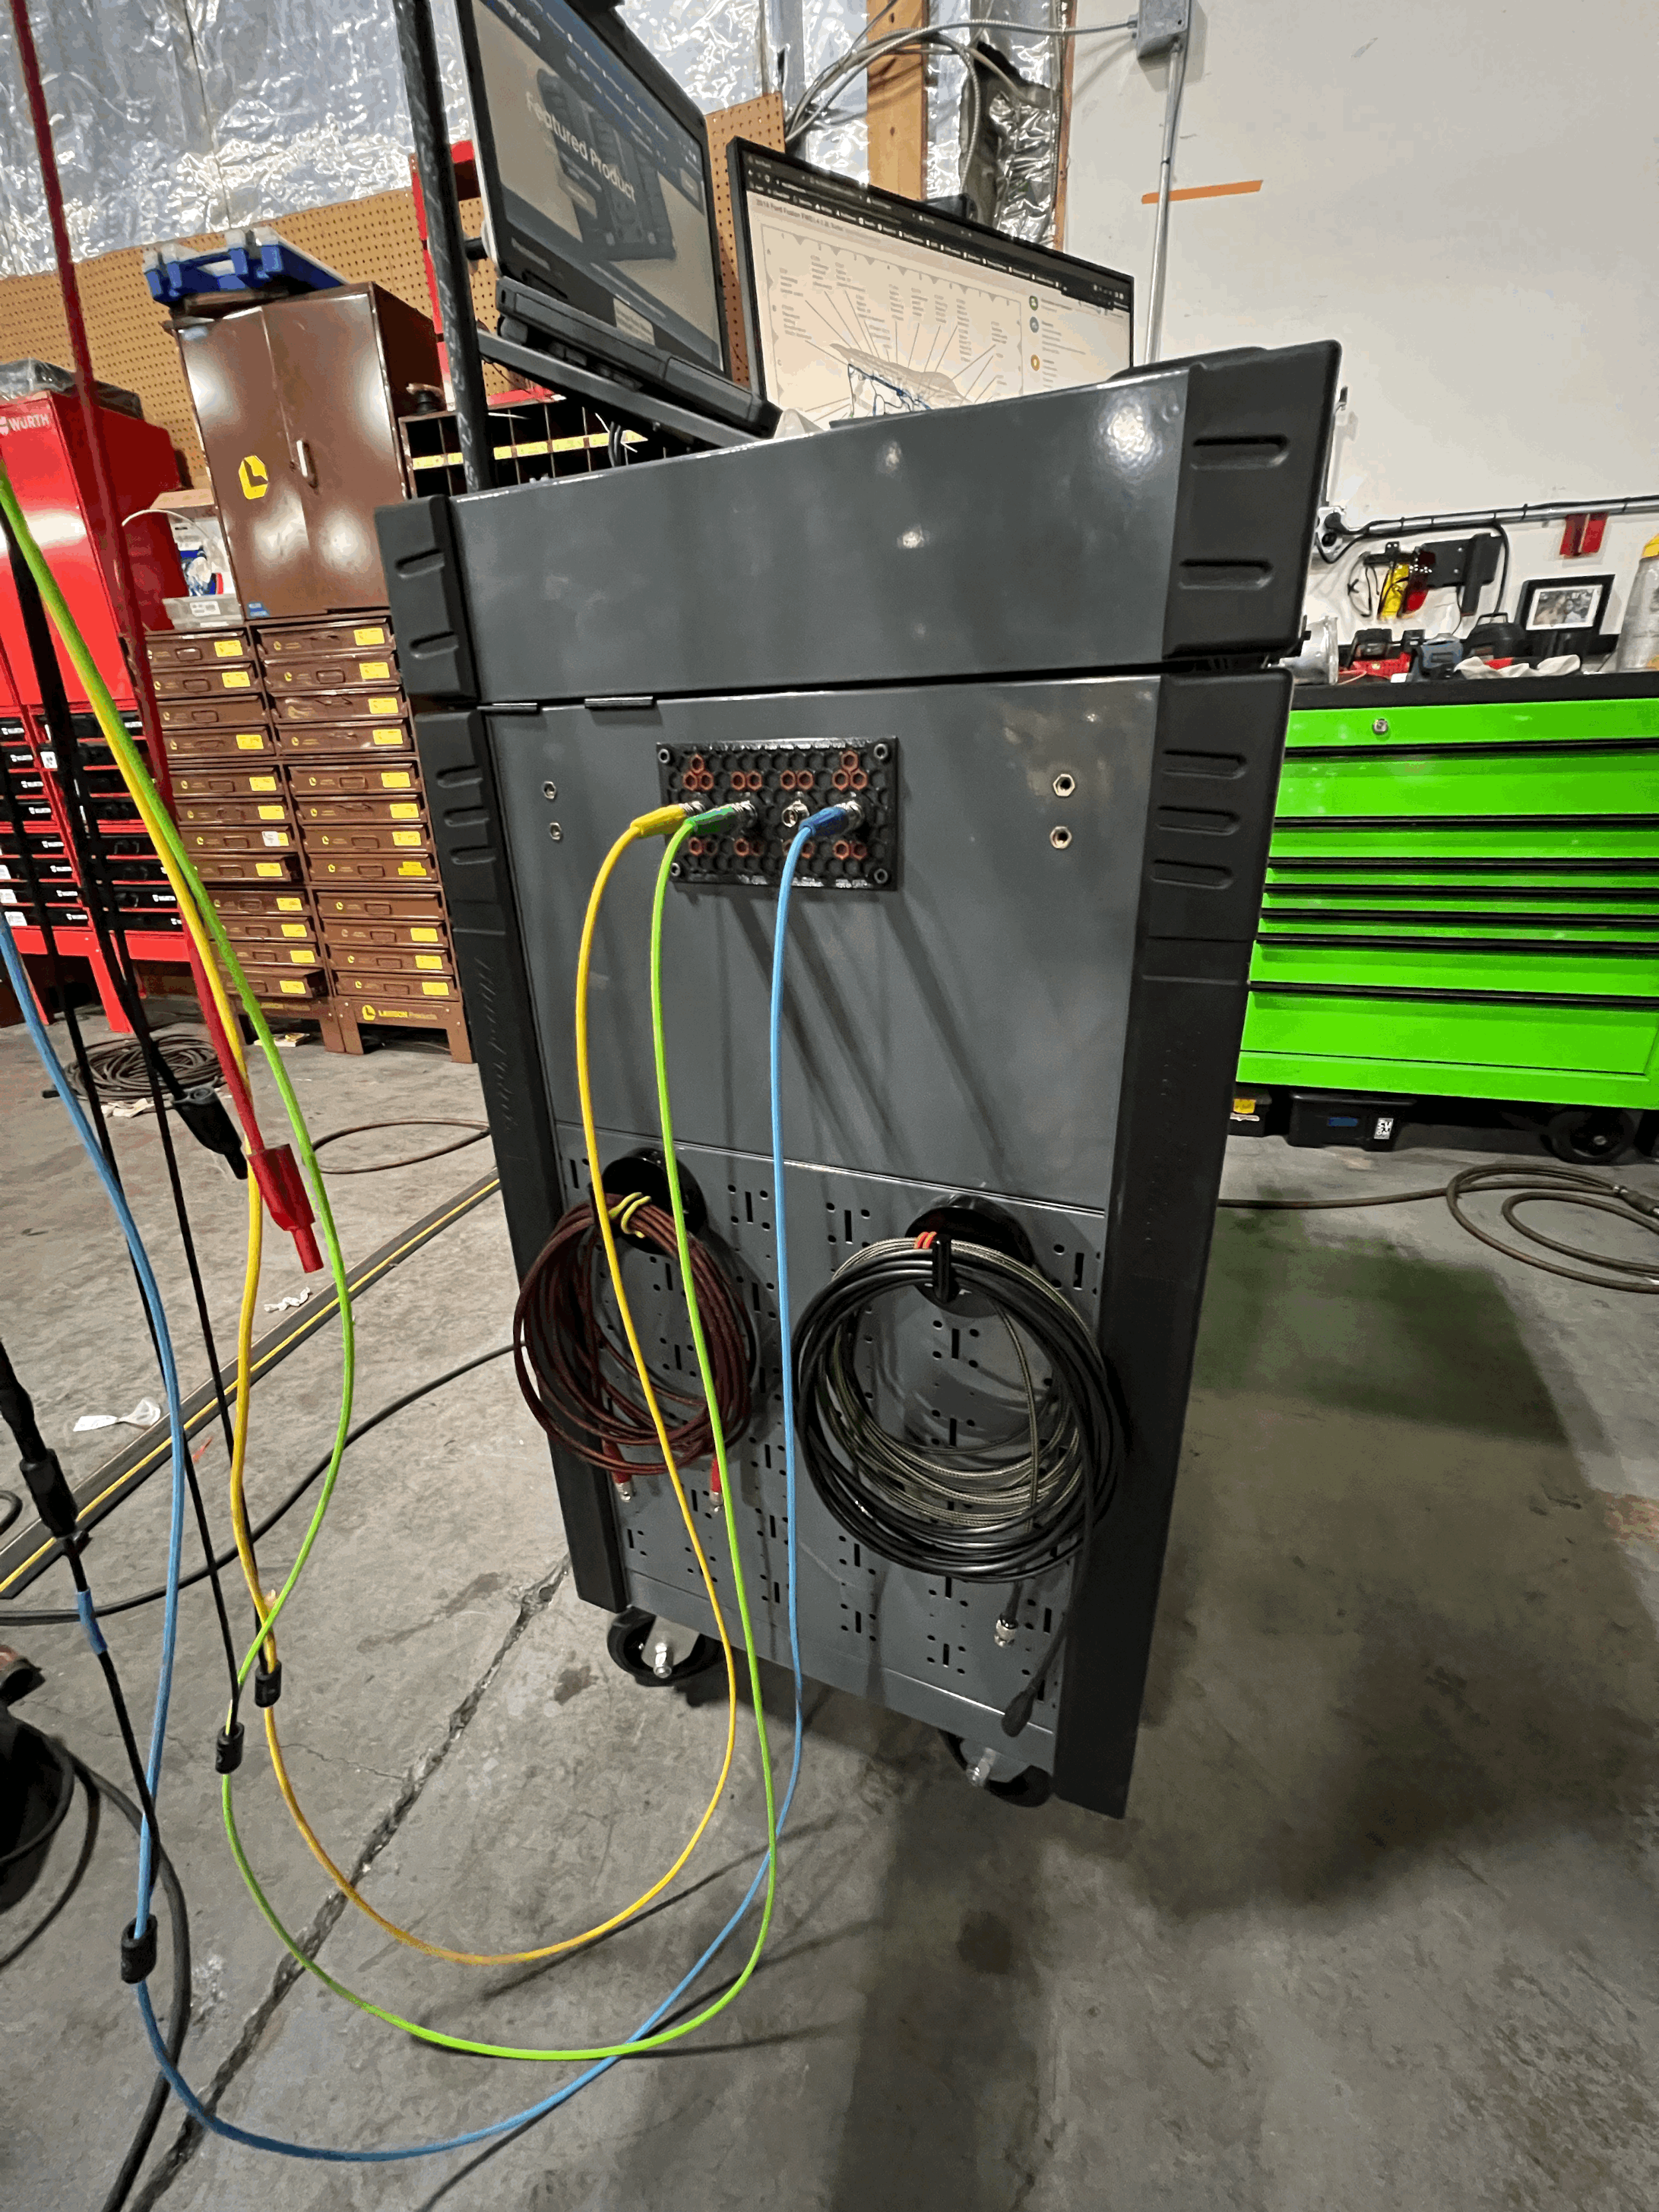
Kit comes with bulk head front and back plates and 4 BNC bulkhead connector. Will come with template for drilling. (note that BNC connectors do not touch any metal due to the hole you will drill is oversized). For channel identification there are colored inserts you can choose to install into the honey comb design above each connector.
If you need short cables for this please check out the BNC to BNC cable listing! (CABLES NOT INCLUDED)
This is a great addition to a cart if you want to keep the scope tucked away but still want external access to the inputs.
Measurements: 150mm wide x 80 mm tall
Install Directions
Find a good area that you would want to have the bulkhead.
Cover area in painters tape (this will lessen the amount of paint tearing of the cart finish and burrs)
Use the provided template to mark where your holes are going to go (suggest using a fine tip sharpie) and use a punch or automatic hole punch to mark the spot. (SEE TIP BELOW)
Use whatever you want to drill the holes, then use a de-burring tool to clean up in inside and out side of the holes
Test fit (when you drill the holes that contain the BNC holes make sure they are large enough so the BNC connectors “float” inside - 19-20mm should be a good size)
TIP: If you want to use a level make sure your cart is level because if it isn’t and you use a level on the template the whole template will not be square to the cart. If you want it to be level as the cart. Find a straight portion that is on the same plane / panel that you are installing it and put the level ON THAT and hit zero. This is use that as the zero point. After that then anything you use the level on will be level to that initial zero point.


